
How Much Raspberries Do You Need to Make Jelly?
Making raspberry jelly is one of life’s simplest pleasures. But if you’re wondering how much raspberries to make jelly, you’re not alone! This article answers that question and guides you through the entire process. Whether you’re a seasoned home canner or a beginner in the kitchen, you’ll learn everything you need—from understanding the basics to mastering ingredient ratios.
Raspberry jelly stands out for its smooth texture, bright color, and tantalizing taste. But how much fruit do you need to whip up a batch? What tools and ingredients are essential? And how can you make adjustments, like reducing sugar or skipping pectin, to suit your preferences? In this article, we’ll cover all that and more! Let’s dive in, starting with the fundamentals.
Table of contents
Understanding Raspberry Jelly Basics
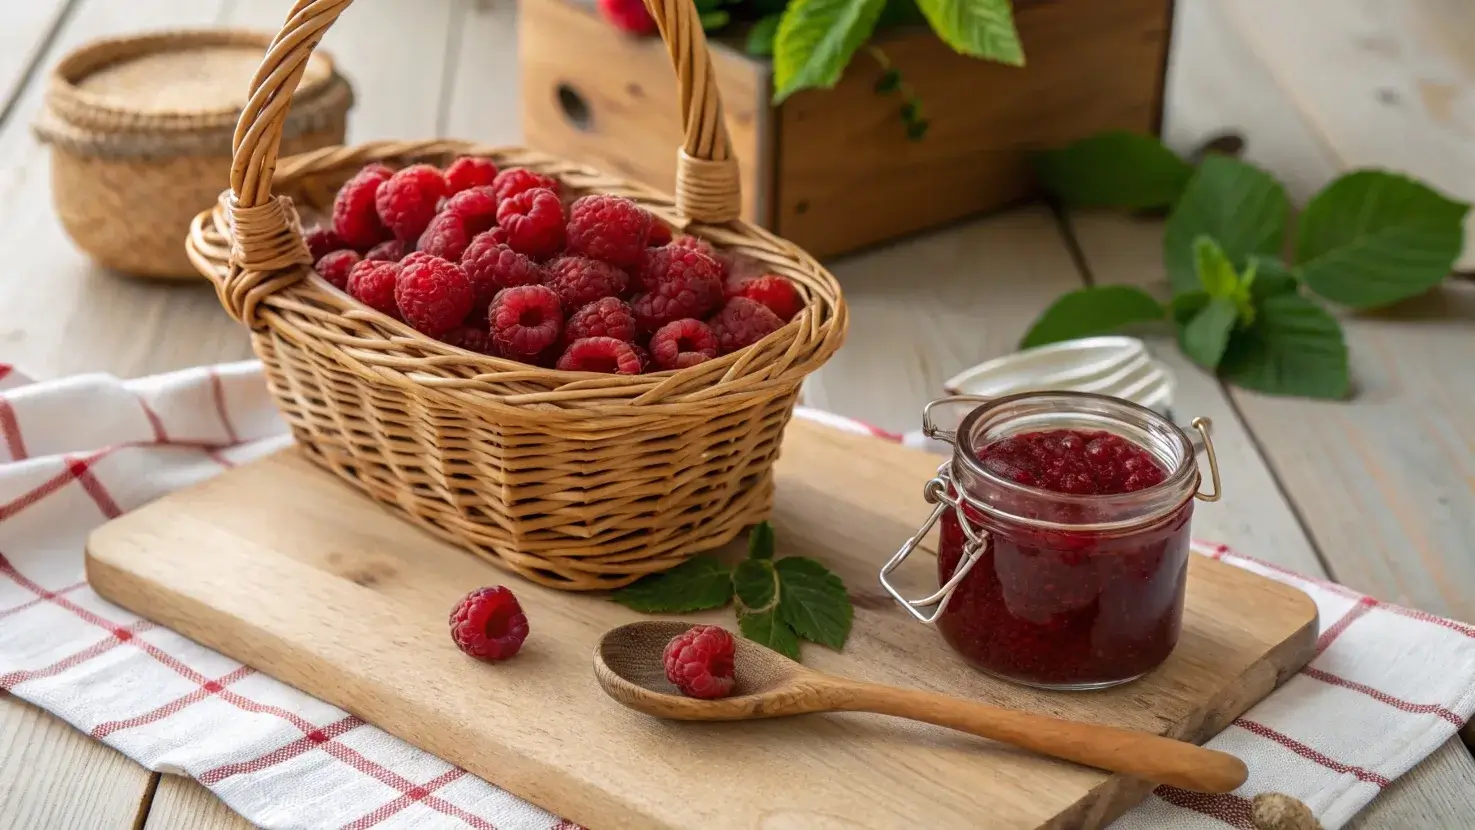
What is Raspberry Jelly?
Raspberry jelly is a smooth and spreadable preserve made from raspberry juice, sugar, and sometimes pectin to help it set. Unlike raspberry jam, which includes the seeds and pulp, jelly is made by extracting the juice from the fruit, resulting in a clear, seedless spread. It’s a favorite for spreading on toast, dolloping over desserts, or even adding to savory dishes like glazes for meat.
By focusing on the essence of raspberries, this jelly captures their tart-sweet flavor in a pure, vibrant form. It’s all about letting the fruit’s natural beauty shine.
Why Choose Raspberries for Jelly?
Raspberries are a stellar choice for jelly because they’re rich in natural pectin, especially when slightly underripe. This means they naturally help your jelly firm up without needing added pectin. Plus, their bold, tangy flavor pairs beautifully with a wide variety of foods, making raspberry jelly versatile and loved by many.
What’s more, raspberries are packed with antioxidants, vitamin C, and dietary fiber—a tasty and nutritious treat. And let’s be real—few things rival that ruby-red color gleaming in a jar!
How Much Raspberries Are Needed for Jelly?
So, how much raspberries do you need to make jelly? The amount depends on the recipe, but a general rule of thumb is about 4 cups of fresh raspberries to yield approximately 1 cup of juice, which makes about 1 to 1.5 cups of jelly.
For a standard recipe, you’ll typically need 5 to 6 cups of raspberries to produce a small batch (3 to 4 jars) of jelly. If you’re doubling the recipe, adjust the amount of fruit accordingly. It’s always good to have extra raspberries on hand in case you want to make a bigger batch or need to adjust during the juicing process.
Essential Ingredients and Tools for Making Raspberry Jelly
Main Ingredients for Raspberry Jelly
To make perfect raspberry jelly, you only need a few basic ingredients. The star of the show is, of course, the raspberries! But how much raspberries do you need to make jelly? Typically, 5 to 6 cups of fresh raspberries will yield about 3 to 4 small jars of jelly.
You’ll also need sugar to sweeten the jelly and act as a natural preservative. The amount varies depending on your desired sweetness, but most recipes use 3 to 4 cups of sugar per batch. If you’re going for a low-sugar version, there are alternatives like honey or low-sugar pectin that work well.
Lemon juice is another essential ingredient. Not only does it enhance the flavor, but its acidity also helps the jelly set and stay safe for storage. For some recipes, pectin (either powdered or liquid) may be added to help the jelly firm up, especially if you’re working with fully ripe berries that are lower in natural pectin.
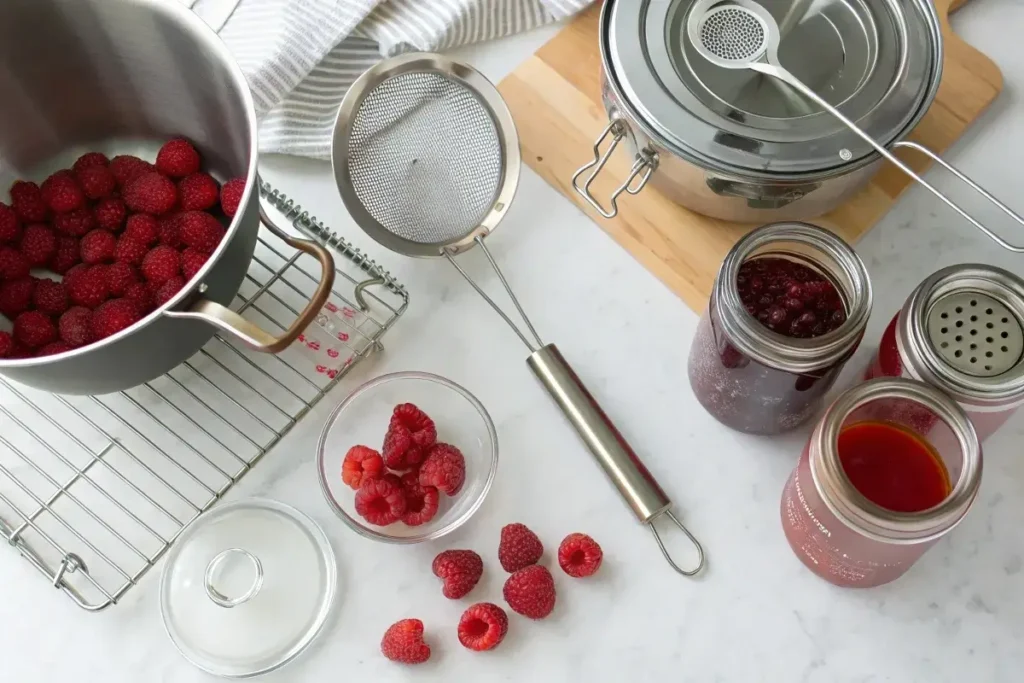
Tools Required to Make Jelly
Making raspberry jelly requires some basic kitchen tools to get started. You’ll need a large saucepan or stockpot to cook the jelly mixture, ensuring there’s enough space to prevent it from boiling over.
A strainer or cheesecloth is essential for extracting juice from the raspberries. If you’re a seasoned jelly-maker, you might prefer a food mill or juicer for this step.
Don’t forget sterilized jars and lids for storing the jelly. Mason jars are perfect for canning and ensure a long shelf life. A jar funnel, ladle, and a canning rack can also make the process smoother. With these tools, you’re all set to whip up your batch of homemade jelly!
Step-by-Step Guide to Making Raspberry Jelly
Preparing Raspberries
The first step to making raspberry jelly is preparing the fruit. Start by rinsing the raspberries under cold water to remove dirt or debris. Be gentle—raspberries are delicate! Next, sort through the berries and discard any that are moldy or overly mushy.
For those wondering how much raspberries to make jelly, remember the golden rule: 4 cups of raspberries yield 1 cup of juice. So if your recipe calls for 2 cups of juice, you’ll need about 8 cups of fresh raspberries.
Extracting Raspberry Juice
Once your raspberries are prepped, it’s time to extract their juice. Place the raspberries in a large pot and mash them lightly with a spoon or potato masher. Add a splash of water (about ¼ cup per batch) to help the berries break down as they heat.
Bring the mixture to a gentle simmer over medium heat, stirring occasionally. After 10–15 minutes, the berries will release their juice. Pour the mixture through a fine strainer or cheesecloth into a large bowl. Let it drip naturally—pressing the pulp may cloud the jelly. For the clearest jelly, allow it to strain for an hour or longer.
Cooking the Jelly Mixture
Now comes the fun part—cooking the jelly! Measure your juice and pour it back into the saucepan. For every cup of juice, add ¾ to 1 cup of sugar, depending on how sweet you like it.
If you’re using pectin, follow the package instructions for when to add it. If not, bring the mixture to a boil, stirring constantly. Add a tablespoon of lemon juice for every 2 cups of juice to enhance the flavor and help the jelly set.
Boil the mixture rapidly for 5–10 minutes, skimming off any foam that forms on the surface. You’ll know the jelly is ready when it reaches 220°F on a candy thermometer or passes the “wrinkle test.” (Drop a small amount onto a cold plate, and if it wrinkles when pushed, it’s done!)
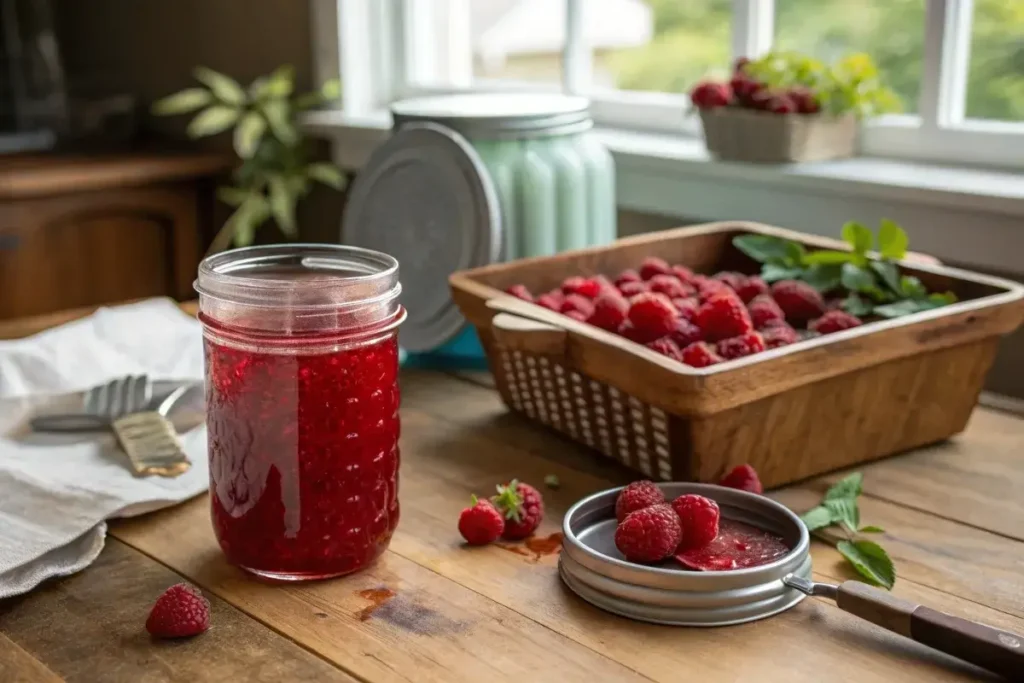
Jarring and Storing Your Jelly
Once your jelly is ready, it’s time to jar it. Ladle the hot jelly into sterilized jars, leaving about ¼ inch of headspace at the top. Wipe the rims clean, seal the jars with lids, and process them in a boiling water bath for 5–10 minutes.
Allow the jars to cool completely before checking the seals. Properly sealed jars can be stored in a cool, dark place for up to a year. Opened jars should be refrigerated and used within a few weeks.
Common Variations of Raspberry Jelly
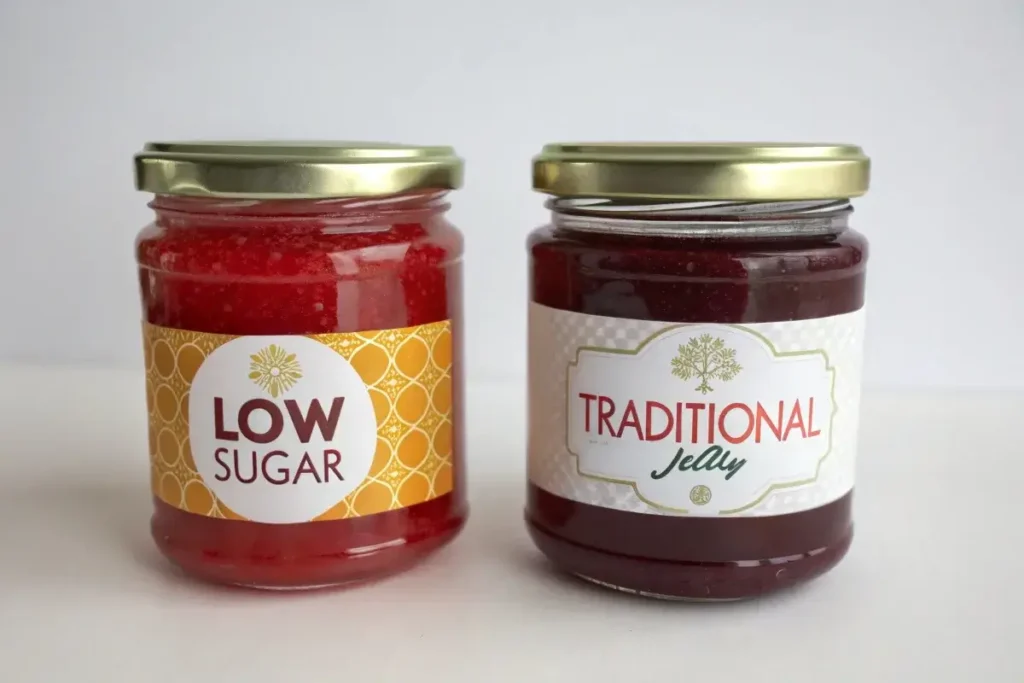
Low-Sugar Raspberry Jelly
Want to make a healthier version of raspberry jelly? You can easily reduce the sugar without compromising the taste. Instead of the traditional ratio of sugar to juice, try using 1/2 cup of sugar per cup of juice or experiment with natural sweeteners like honey or agave.
Using low-sugar pectin is another great option. It helps the jelly set even with reduced sugar levels. Remember, the natural sweetness of the raspberries can shine through more in low-sugar recipes. For those still wondering how much raspberries to make jelly, the answer remains the same—5 to 6 cups of raspberries will yield about 3–4 jars of this healthier treat!
Raspberry Jelly Without Pectin
For a more traditional approach, skip the added pectin altogether. Raspberries naturally contain enough pectin when they’re slightly underripe, which helps the jelly firm up. To make pectin-free jelly, boil the raspberry juice and sugar mixture for a longer time—typically 20–30 minutes—until it reaches the desired consistency.
While this method takes a little more patience, the result is a soft, spreadable jelly with an intense raspberry flavor. If you’d like a more detailed guide, check out this article on removing raspberry seeds for jelly for helpful tips.
Troubleshooting and FAQs
Why Didn’t My Jelly Set Properly?
One common frustration is jelly that doesn’t set. This often happens when the juice isn’t boiled long enough, or the sugar-to-juice ratio is off. If you’re using pectin, ensure it’s fully dissolved, and follow the timing instructions closely.
If your jelly didn’t set, don’t panic! You can reprocess it by reheating the mixture, adding a bit more pectin or sugar, and boiling it again until it reaches 220°F.
Can I Use Frozen Raspberries?
Absolutely! Frozen raspberries work just as well as fresh ones for making jelly. Just thaw them completely before juicing. The best part? Frozen berries are often harvested at peak ripeness, ensuring great flavor. When using frozen fruit, the amount stays the same—5 to 6 cups of raspberries for most recipes.
How Long Does Raspberry Jelly Last?
Properly sealed jars of raspberry jelly can last up to 12 months when stored in a cool, dark place. Once opened, refrigerate the jelly and use it within 3 to 4 weeks.
FAQs Based on ‘People Also Ask’
How Many Cups of Fruit Do I Need for Jelly?
For a typical jelly recipe, you’ll need 4 cups of fruit to yield 1 cup of juice. Most recipes call for at least 2 cups of juice, meaning you’ll need 8 cups of fruit to produce about 3 to 4 small jars of jelly. If you’re aiming for a larger batch, plan to increase the amount of fruit proportionally.
How Many Raspberries Does It Take to Make a Cup?
On average, it takes about 30 to 35 raspberries to make 1 cup of whole berries. Keep in mind that raspberries are light and delicate, so the size of the berries can affect the exact number.
What Is the Ratio of Fruit Juice to Sugar for Jelly?
The standard ratio for making jelly is 1 cup of fruit juice to ¾ or 1 cup of sugar, depending on how sweet you like your jelly. If you’re aiming for a low-sugar version, you can reduce the sugar to about ½ cup per cup of juice, but you may need to use low-sugar pectin to help the jelly set properly.
How Do You Get the Seeds Out of Raspberries for Jelly?
To remove the seeds, first mash the raspberries and heat them gently to release their juice. Then, pour the mixture through a fine-mesh strainer or cheesecloth into a bowl, allowing the juice to drain naturally. For extra clarity, avoid pressing the pulp too hard, as this may push small particles through. This step ensures your raspberry jelly has a smooth, seedless texture.
Nutritional and Practical Considerations
Nutritional Benefits of Raspberry Jelly
Raspberry jelly isn’t just delicious—it also provides some health benefits. Raspberries are rich in antioxidants, vitamin C, and dietary fiber. Even though sugar is added during the jelly-making process, the natural nutrients of the berries still shine through. If you’re concerned about sugar, try a low-sugar version to retain more of the fruit’s original benefits.
Eco-Friendly Tips for Raspberry Jelly Making
Making raspberry jelly at home is a great way to reduce food waste. Use berries that might be too soft for eating fresh but are still perfect for juicing. Compost the leftover pulp for a more sustainable approach. And don’t forget to recycle or reuse your jars when the jelly is gone!
For more delicious recipes and tips, check out this raspberry jelly recipe guide.