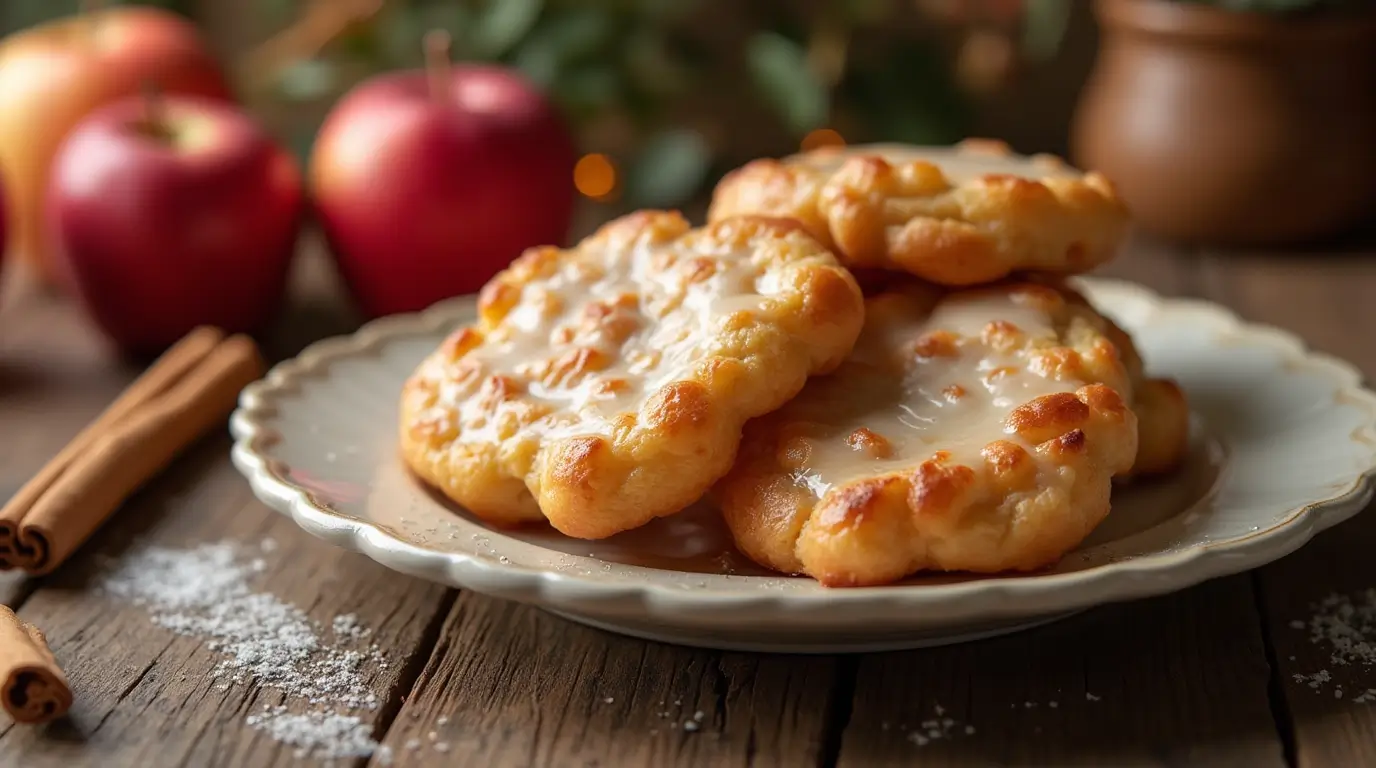
There’s something magical about the sweet aroma of apples and cinnamon wafting through the kitchen, especially when cooler weather sets in. Baked Apple Fritters are one of those comforting, nostalgic treats that hit the sweet spot between breakfast and dessert. Unlike traditional fried fritters, this baked version is lighter, easier, and dare we say—healthier!
In this guide, we’re diving deep into everything you need to know about baking the perfect apple fritters. From choosing the right kind of apples to nailing that golden-brown finish, we’ll walk you through it all step by step. You’ll also get pro tips on glaze variations, common baking mistakes, and creative ways to serve your fritters like a pro. Let’s get started with the basics!
Table of contents
- Introduction to Baked Apple Fritters
- Choosing the Right Apples for Your Fritters
- Ingredients Breakdown and Substitutes
- Step-by-Step Baked Apple Fritter Recipe
- Glaze Options and Flavor Twists
- Troubleshooting and Baking Tips
- Storing and Reheating Apple Fritters
- Creative Serving Suggestions
- Baked Apple Fritters FAQ
- Conclusion & Final Tips
Want more easy no-bake treats? Check out the Butterfinger Balls – No Bake Dessert that are perfect for quick indulgence.
Introduction to Baked Apple Fritters
What Are Baked Apple Fritters?
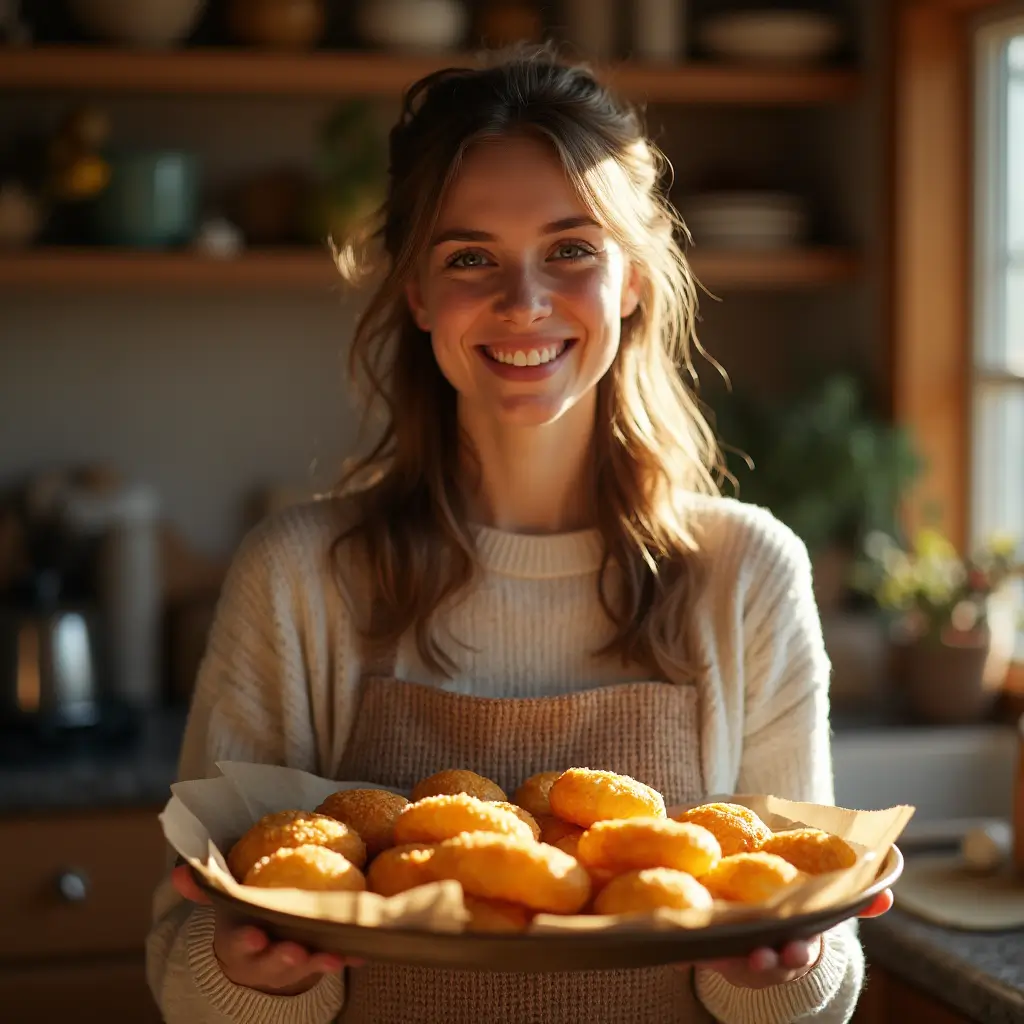
Baked Apple Fritters are the oven-friendly cousins of the classic deep-fried version. They’re little pillows of apple-stuffed dough, sweetened just right, and finished with a light glaze or cinnamon sugar coating. Traditionally, fritters are dunked in hot oil until crispy and golden, but this recipe skips the fryer altogether. Instead, we use high heat and a clever broiling trick to get that same caramelized texture—without the mess or the grease.
These fritters are more than just a quick breakfast idea; they’re a celebration of apple season in every bite. With their soft, cakey interior and slightly crisp outside, they’re the kind of treat that pairs perfectly with a hot cup of coffee, cider, or even a scoop of vanilla ice cream (hey, we don’t judge!).
Why Choose Baked Over Fried? Health and Texture Benefits
Let’s be honest—fried food can be heavy. And messy. And, well, greasy. Baking your apple fritters solves all of that. Not only are baked apple fritters lower in fat, but they’re also easier to make in bulk, and you won’t end up with your kitchen smelling like a fast-food joint.
What’s more, baked fritters bring a slightly more cake-like texture to the table—soft, fluffy, and still packed with apple goodness. With a crisp finish from broiling and a tender center, you won’t even miss the fryer. And did we mention you can pop a whole tray into the oven at once? Total game-changer for fall mornings or holiday brunches!
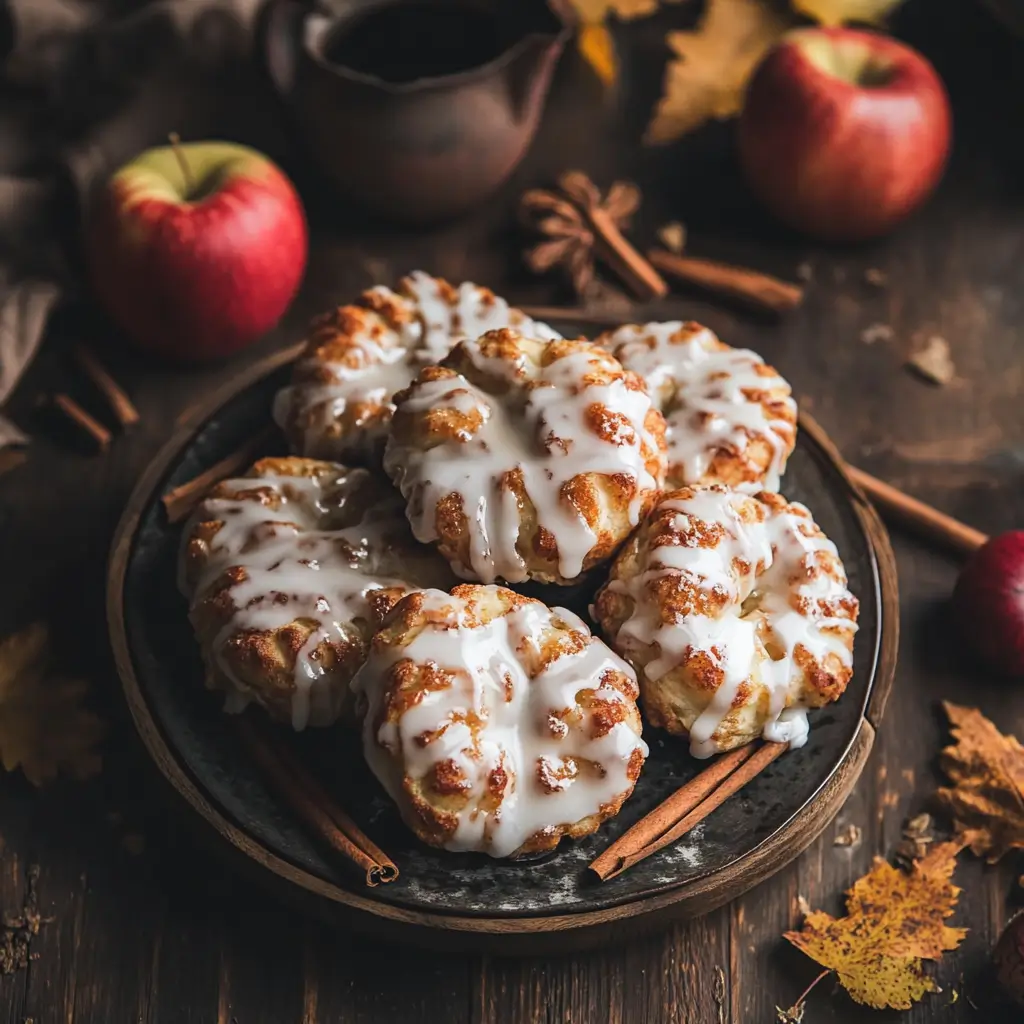
Choosing the Right Apples for Your Fritters
Best Apple Varieties for Baking (Granny Smith, Honeycrisp, etc.)
When it comes to Baked Apple Fritters, the kind of apple you use can make or break the flavor. Some apples turn to mush when baked, while others hold their shape and offer that perfect bite. So, which apples should you go for?
Granny Smith apples are a top pick. Their tartness balances the sweetness of the batter and glaze beautifully. Plus, they keep a nice firm texture even after baking. If you’re craving something sweeter, Honeycrisp apples are another stellar choice. They’re juicy, crisp, and loaded with that classic apple flavor.
Want something in between? Try Braeburn or Fuji. These varieties add a little natural sweetness without going overboard. No matter what you pick, be sure your apples are firm and fresh. That’ll give your fritters the perfect texture and taste.
How Apple Texture and Sweetness Affect the Final Fritter
Apples that are too soft can turn your fritters into soggy messes. And overly sweet apples? They can make the final product cloying rather than comforting. By picking the right variety, you’re setting your Baked Apple Fritters up for success from the start.
In short, tart and crisp apples enhance flavor and texture. And remember—the better the apple, the better the fritter.
Ingredients Breakdown and Substitutes
Essential Ingredients for Baked Apple Fritters
The beauty of Baked Apple Fritters is how simple the ingredients are. You probably already have most of them sitting in your pantry or fridge.
Start with flour—all-purpose flour gives the fritters structure, while white whole wheat flour adds a touch of nuttiness and a bit more nutrition. Brown sugar provides that deep, caramel-like sweetness, while baking powder helps them rise and stay fluffy.
For flavor, cinnamon, nutmeg, and allspice add warmth and that cozy fall feel. Don’t skip the butter either—cold butter cut into the flour gives the fritters that tender, melt-in-your-mouth texture. Milk, an egg, and vanilla extract round out the wet ingredients. And of course, fresh chopped apples are the star of the show.
Healthy Substitutions: Dairy-Free, Gluten-Free, and Vegan Options
Trying to lighten things up or accommodate dietary needs? No problem. There are easy swaps for almost every ingredient.
For a gluten-free version, use a 1-to-1 gluten-free flour blend that includes xanthan gum. To go dairy-free, sub in plant-based milk like almond or oat, and use vegan butter or coconut oil. Want to make your fritters vegan? Replace the egg with a flax egg (1 tbsp flaxseed meal + 3 tbsp water) and opt for non-dairy milk.
You’ll still get those golden, crispy edges and soft, fluffy centers—just with a twist that fits your lifestyle. These baked apple fritters are super adaptable and still incredibly tasty.
Step-by-Step Baked Apple Fritter Recipe
Preparing the Batter: Tips to Avoid Overmixing
Let’s get into the good stuff—making the fritters! The process is easy-peasy, but a few tips can make a big difference.
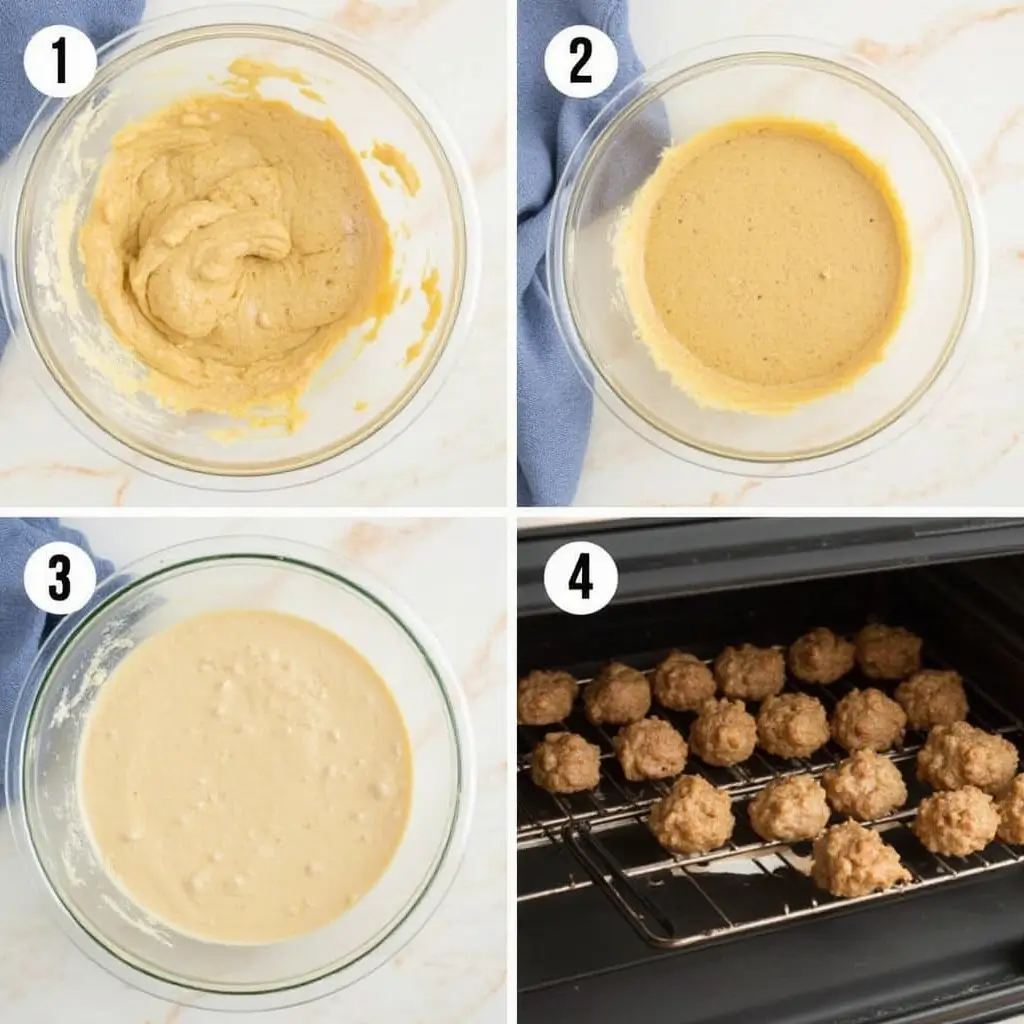
Start by mixing your dry ingredients: all-purpose flour, white whole wheat flour, baking powder, brown sugar, and cozy spices like cinnamon and nutmeg. In a separate bowl, whisk together milk, egg, and vanilla. Now here’s where things matter—when you add the wet to the dry, don’t overmix. Seriously. Stir it until just combined, like you would with muffin batter. Overdoing it will make your fritters dense instead of fluffy.
Next up? Fold in your chopped apples. Be gentle. You want the fruit evenly distributed, but again, minimal stirring is key.
Use a cookie scoop or ¼ cup measure to drop the batter onto a lined baking sheet. These fritters don’t spread much, so no need to flatten them. Just scoop and go!
Baking Technique: Glazing, Broiling, and Achieving Crispiness
Preheat your oven to 400°F. Bake the fritters for about 11–13 minutes, or until the bottoms are golden and the centers feel set. Then—this is the magic step—brush on a light vanilla glaze and pop them under the broiler for 2–4 minutes. This adds that golden, slightly crispy finish that mimics a fried fritter—but without the oil.
Once they’re out of the broiler, brush them again with the remaining glaze. Let them cool slightly before digging in (we know, it’s hard to wait!).
These Baked Apple Fritters are sweet, soft, lightly crispy, and packed with fall flavor. Trust us—they’ll be gone in a flash!
Glaze Options and Flavor Twists
Classic Vanilla Glaze vs Maple Glaze
A glaze can make or break your Baked Apple Fritters. The classic vanilla glaze is simple—just mix powdered sugar, milk, and vanilla extract. It’s sweet, creamy, and lets the apple-cinnamon flavors shine.
Want to go full autumn-mode? Swap the vanilla for maple extract and you’ve got a maple glaze that’s next-level cozy. It pairs perfectly with tart apples and gives your fritters that extra something special.
Both versions are easy, quick, and make the fritters look bakery-worthy with a glossy finish.
Add-ins: Cinnamon Chips, Nuts, and Caramel Drizzle
If you love to customize, you’re in luck. There are loads of ways to take your Baked Apple Fritters up a notch.
Try tossing in a handful of cinnamon chips or chopped toasted pecans. They add texture and spice in every bite. If you’re feeling fancy, drizzle some warm caramel sauce over the top just before serving. It’s a small touch that turns a simple fritter into a dessert-worthy delight.
No matter what twist you choose, these fritters stay true to their cozy, apple-packed roots—just with a little creative flair.
If you love this cozy, cinnamon-spiced dessert, you’ll also enjoy the Amish Cinnamon Bread Recipe for its warm, fluffy texture.
Troubleshooting and Baking Tips
How to Prevent Soggy or Dry Fritters
Even though Baked Apple Fritters are pretty forgiving, a few things can go sideways if you’re not careful. Let’s fix that.
If your fritters come out soggy, it’s usually because the apples released too much juice. To avoid that, go for firm apples like Granny Smith or Honeycrisp, and pat them dry before folding into the batter. Also, don’t let the batter sit too long before baking—it starts breaking down quickly.
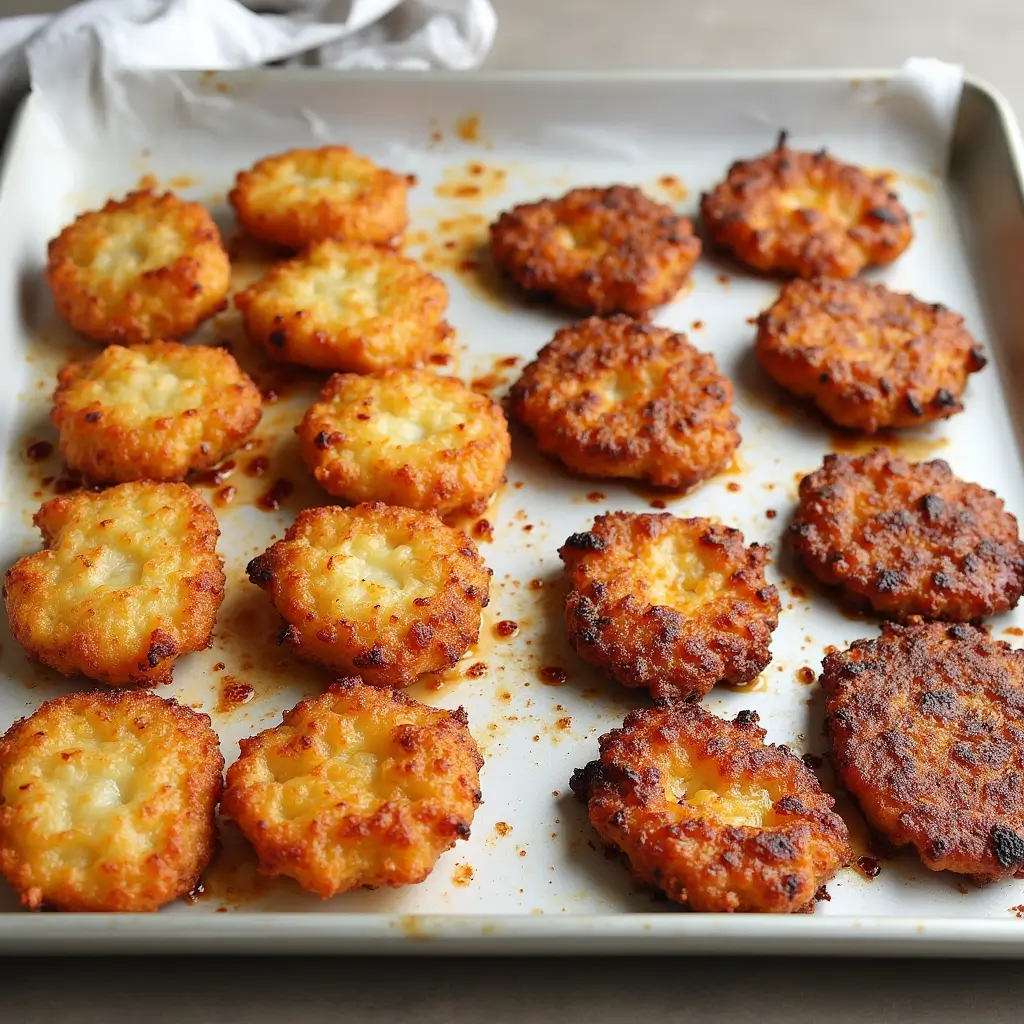
On the flip side, if your fritters turn out dry, your oven might be too hot, or you may have overbaked them. Always check doneness around the 11-minute mark. The goal? Golden bottoms and a set center, not rock-hard pucks.
Common Mistakes with Baked Fritters (and How to Fix Them)
Let’s talk classic errors. One biggie? Overmixing the batter. It might be tempting to keep stirring until it’s smooth, but resist! Overmixing kills the fluff and leads to dense, chewy fritters.
Another common issue is spreading. If your fritters are flattening out too much, the batter might be too thin. Add a tablespoon or two of flour to thicken it up. These small tweaks can completely change the game—and turn meh fritters into fabulous ones.
With just a few adjustments, your Baked Apple Fritters will be picture-perfect and ready for round two!
Storing and Reheating Apple Fritters
Best Ways to Store Baked Fritters Without Losing Texture
Let’s be honest—Baked Apple Fritters rarely last long enough to store. But if you’ve got leftovers (lucky you!), here’s how to keep them fresh.
Store them in an airtight container at room temp for up to 2 days. Make sure they’re fully cooled before storing, or they’ll get soggy. Want them to last longer? Pop them in the fridge for up to 4–5 days, though the texture will change slightly.
How to Reheat for Fresh-Out-of-the-Oven Taste
To bring back that just-baked magic, reheat fritters in the oven at 350°F for about 5–7 minutes. This keeps the outside crisp and warms the inside without drying them out.
Avoid microwaving if you can—while it’s quick, it tends to make the fritters rubbery. If you’re in a rush, use short bursts and wrap the fritter in a paper towel.
Reheating the right way means your Baked Apple Fritters can taste just as good on day two!
Creative Serving Suggestions
Pairing Ideas: Coffee, Ice Cream, or Caramel Dips
One of the best things about Baked Apple Fritters? They’re wildly versatile when it comes to serving. Whether you’re planning a casual brunch or a cozy dessert night, these fritters fit right in.
Start your morning right by pairing them with a hot mug of coffee or spiced chai. The warmth of the drink enhances the cinnamon notes in the fritters. Feeling indulgent? Serve them à la mode with a scoop of vanilla or cinnamon ice cream. The warm fritter and cold ice cream combo is pure magic.
You can also level things up with dips. A small bowl of warm caramel sauce or vanilla yogurt on the side can add a fun, interactive twist to your treat.
Seasonal Presentation Tips for Fall and Holidays
Presentation matters—especially during the holidays. Dust your Baked Apple Fritters with powdered sugar for a snowy look, or place them in festive paper cups for easy sharing.
Add a few cinnamon sticks or apple slices to the platter for that cozy fall vibe. Whether you’re hosting or gifting, they’re always a hit!
Baked Apple Fritters FAQ
Can you cook fritters in the oven?
Yes, you can—and it’s a great alternative to frying! Baking fritters in the oven helps reduce oil and cleanup, while still giving you a soft, tender inside and lightly crisp exterior. Baked Apple Fritters, in particular, come out golden and delicious with the help of a quick broil at the end to add that extra bit of crisp.
What temperature to bake apple fritters?
Bake your Baked Apple Fritters at 400°F (200°C). This higher temperature helps the fritters puff up nicely and gives the outside a slight crust. For best results, always preheat your oven, and finish with a broil for 2–4 minutes to get that bakery-style golden top.
Why are my fritters not crisp
If your fritters aren’t turning out crispy, there could be a few reasons. First, the batter might be too wet—especially if your apples are very juicy. Try blotting the apple pieces before mixing. Second, skipping the broiler step at the end of baking can leave your fritters soft. A quick blast under the broiler adds that coveted crunch without needing to fry.
How long do baked apples take in the oven?
Whole or halved baked apples usually take 25–35 minutes at 375–400°F depending on their size. In Baked Apple Fritters, since the apples are diced and mixed into batter, they bake faster—typically in 11–13 minutes at 400°F, nestled inside the fritter dough.
Conclusion & Final Tips
Recap of Key Tips for Perfect Baked Apple Fritters
There you have it—your complete guide to making Baked Apple Fritters that are fluffy inside, crisp on the outside, and packed with juicy apple flavor. Remember to choose the right apples, avoid overmixing, and don’t skip that broiler step—it’s the secret to that golden finish!
These fritters are easy to customize, simple to store, and even better to share. Whether you’re baking for a fall brunch or just need a cozy treat with your coffee, this recipe is a keeper.
Encouragement to Experiment with Your Own Variations
Don’t be afraid to get creative! Try different glazes, add spices, or toss in extras like nuts or raisins. Once you’ve nailed the base, the sky’s the limit.
Now go on—bake a batch, take a bite, and let those sweet, spiced apple flavors do the talking.
For more delicious recipes and dessert ideas, feel free to explore other treats on Kamala Recipes.
