The Ultimate Red Velvet Brownies Recipe – Fudgy, Chewy, and Irresistible
If you love the rich chocolatey goodness of brownies but also crave the velvety smoothness of red velvet cake, you’re in for a treat! This red velvet brownies recipe brings you the best of both worlds—chewy, fudgy brownies with a stunning red hue and a luscious cream cheese frosting.
In this article, we’ll walk you through everything you need to know to bake the perfect batch of red velvet brownies. From selecting the best ingredients and achieving the ideal texture to storage tips and delicious variations, we’ve got you covered! So, whether you’re whipping up a batch for Valentine’s Day, a party, or just a sweet craving, this recipe is guaranteed to impress.
Table of contents
- The Ultimate Red Velvet Brownies Recipe – Fudgy, Chewy, and Irresistible
- Introduction to Red Velvet Brownie
- Ingredients for the Best Red Velvet Brownies
- Step-by-Step Guide to Making Red Velvet Brownies
- Tips for the Perfect Red Velvet Brownies Texture
- Fun Variations of the Classic Red Velvet Brownies Recipe
- Storing and Serving Your Red Velvet Brownies
- Frequently Asked Questions About Red Velvet Brownies
- More Delicious Dessert Recipes & Final Thoughts
Introduction to Red Velvet Brownie
What Are Red Velvet Brownies?
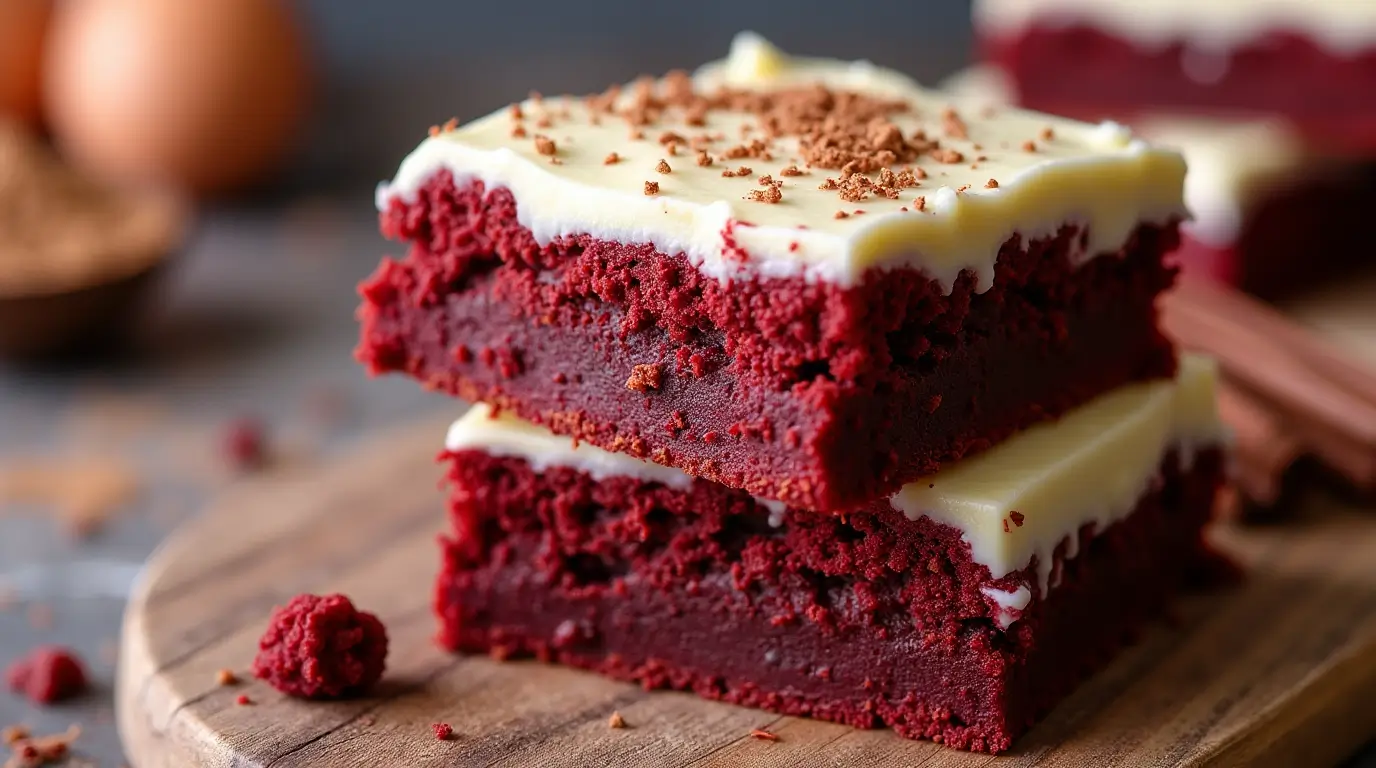
Red velvet brownies are a heavenly hybrid between classic chocolate brownies and the famous red velvet cake. They have the chewy, fudgy texture of brownies but with that signature tangy, cocoa-infused flavor that makes red velvet so irresistible. Unlike traditional brownies, these beauties boast a vibrant red color—thanks to a mix of cocoa powder, vinegar, and food coloring.
How Are They Different from Regular Brownies?
You might be wondering, “Aren’t these just chocolate brownies with red food coloring?” Not quite! While cocoa powder plays a role in both desserts, red velvet brownies have a milder chocolate taste with a subtle tangy and slightly sweet flavor. The addition of vinegar and buttermilk (or their substitutes) gives them a distinct flavor profile that sets them apart. Plus, they’re often topped with a decadent cream cheese frosting, adding a luxurious finishing touch.
Why You’ll Love This Recipe
If you’re a dessert lover, this red velvet brownies recipe is about to become a staple in your kitchen. Here’s why:
✔️ Fudgy and chewy – No dry, cakey brownies here!
✔️ Easy to make – No fancy ingredients or complicated techniques.
✔️ Perfect for any occasion – Great for Valentine’s Day, birthdays, or a simple treat.
✔️ Pairs perfectly with cream cheese frosting – The tangy sweetness takes these brownies to the next level!
Ingredients for the Best Red Velvet Brownies
The secret to a perfectly fudgy, chewy, and flavorful red velvet brownies recipe lies in choosing the right ingredients. Each component plays a crucial role in achieving that signature red velvet taste and texture.
Essential Ingredients for the Perfect Red Velvet Brownies
To make these brownies rich and delicious, you’ll need:
- Butter & Oil – Butter adds rich flavor, while oil keeps the brownies moist and chewy.
- Sugars (White & Brown) – White sugar creates that classic crackly top, while brown sugar adds depth and extra moisture.
- Eggs & Egg Yolk – Eggs provide structure, while the extra yolk adds creaminess.
- Vanilla Extract – Enhances the sweet, buttery flavor.
- Dutch-Processed Cocoa Powder – Gives these brownies a mild chocolate taste without overpowering the red velvet profile.
- All-Purpose Flour & Cornstarch – Flour provides structure, while cornstarch keeps the texture soft and chewy.
- Vinegar – This key ingredient activates the cocoa powder, giving red velvet its distinct tang.
- Red Gel Food Coloring – Essential for that deep red hue. Always use gel, as liquid food coloring is too weak.
Why Red Food Coloring is Important
Traditional red velvet desserts relied on a reaction between cocoa powder and vinegar for a reddish tint. But to get that classic, vibrant red, food coloring is necessary. Gel food coloring works best because it’s more concentrated, giving a bold color without affecting texture.
The Role of Vinegar in Red Velvet Baking
Vinegar might seem unusual in a dessert, but it’s a game-changer! It enhances the slightly tangy flavor of red velvet and reacts with baking soda for a light, tender texture.
Now that you know why these ingredients matter, let’s get baking!
Step-by-Step Guide to Making Red Velvet Brownies
Baking these red velvet brownies is super simple, even if you’re a beginner. Just follow these foolproof steps to get that perfectly fudgy texture!
Preparing Your Baking Pan and Oven
- Preheat your oven to 350°F (180°C). If using a fan-assisted oven, set it to 160°C.
- Line an 8-inch square baking pan with parchment paper for easy removal.
- Lightly grease the pan with butter or non-stick spray.
Mixing the Wet Ingredients
- Melt the butter in a microwave or on the stovetop. Let it cool slightly.
- In a large bowl, whisk together the melted butter, white sugar, and brown sugar until combined.
- Add the eggs, egg yolk, and vanilla extract, whisking gently until smooth.
- Pour in the vegetable oil and mix well.
Incorporating the Dry Ingredients
- Sift the cocoa powder, flour, cornstarch, and salt into the wet mixture.
- Use a rubber spatula to gently fold the ingredients together. Avoid overmixing!
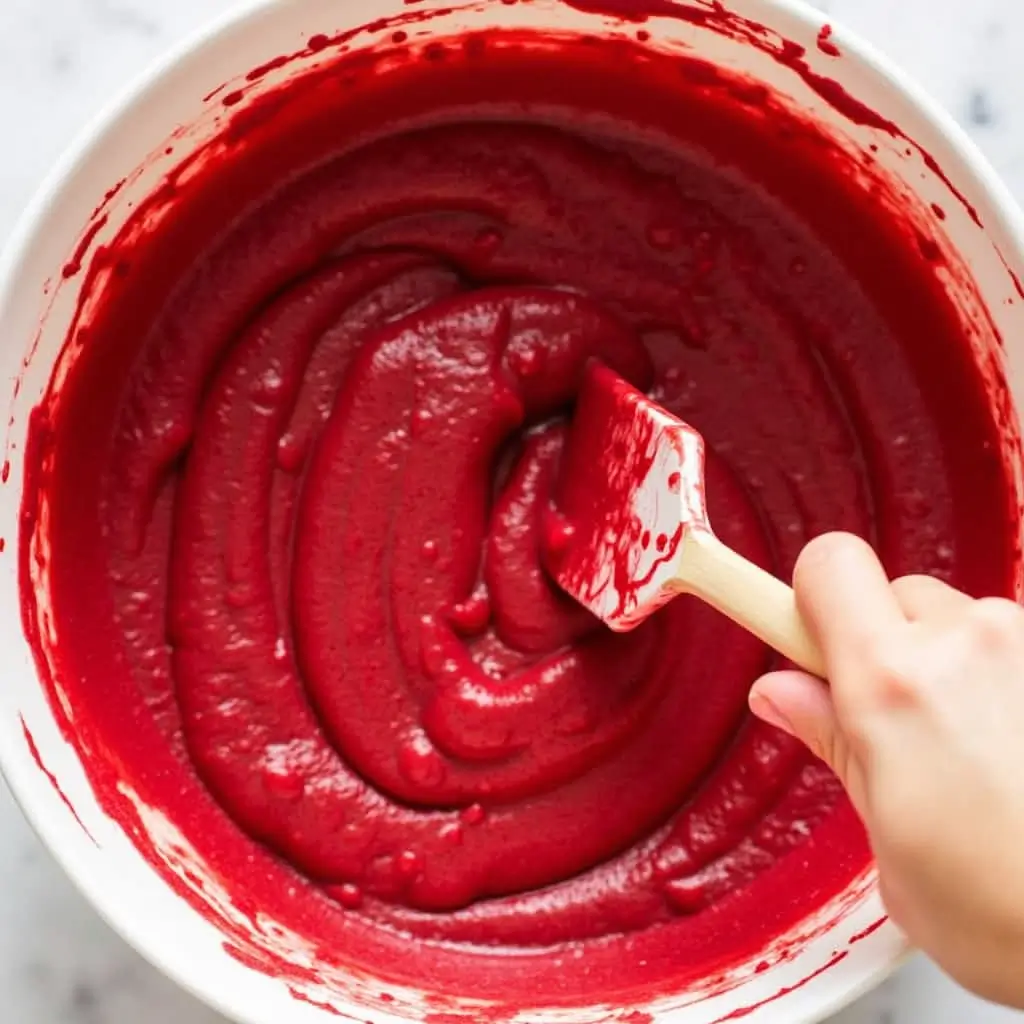
- In a small bowl, mix the red gel food coloring with 2 tablespoons of batter until smooth, then stir it back into the main batter.
Achieving the Perfect Red Velvet Hue
The batter will look dark red at first, but don’t worry—it lightens as it bakes. If you want a brighter red, add a tiny bit more gel coloring at this stage.
Baking Tips for the Best Texture
- Pour the batter into your prepared pan and smooth the top.
- Bake for 20-25 minutes, or until a toothpick inserted in the center comes out with moist crumbs (not wet batter).
- Let the brownies cool for at least an hour before frosting.
Cooling and Frosting Your Brownies
Patience is key! Cooling ensures a clean cut and prevents the cream cheese frosting from melting. Once completely cool, spread the frosting evenly and slice into squares.
Tips for the Perfect Red Velvet Brownies Texture
Getting the perfectly fudgy, chewy texture for your red velvet brownies recipe isn’t just about following the steps—it’s also about knowing the small tricks that make a huge difference! Here’s how to ensure your brownies turn out just right.
How to Make Your Brownies Extra Fudgy
- Use the right fat ratio – A mix of butter and oil ensures a moist, rich texture without making them greasy.
- Don’t overbake – Slightly underbaking is key! The center should still be a little soft when you remove them from the oven.
- Let them cool completely – Hot brownies are softer and harder to cut. Let them rest for at least an hour before slicing.
Common Mistakes to Avoid
- Using too much flour – Even an extra tablespoon can make them too cakey. Always measure accurately using a kitchen scale.
- Overmixing the batter – Stirring too much incorporates air, making them fluffier and less dense.
- Skipping the vinegar – It’s a key ingredient that balances flavors and creates the perfect red velvet taste.
Using a Kitchen Scale for Accuracy
Measuring ingredients by weight instead of volume removes guesswork. If you use a scale, your brownies will be consistent every time!
Fun Variations of the Classic Red Velvet Brownies Recipe
Want to switch things up? These red velvet brownies can be customized to suit any craving! Try these delicious variations.
Red Velvet Cheesecake Swirl Brownies
Love cheesecake? Try swirling a simple cheesecake mixture into the batter before baking:
- Mix 8 oz cream cheese, ⅓ cup sugar, and 1 egg until smooth.
- Drop spoonfuls of the cheesecake mix on top of the brownie batter.
- Use a knife to gently swirl the two together.
- Bake as usual for a gorgeous marbled effect!
Adding White or Dark Chocolate Chips
Want a chocolate boost? Stir in ½ cup white or dark chocolate chips for an extra indulgent touch. White chocolate complements the red velvet flavor, while dark chocolate adds a rich contrast.
Making a Vegan or Gluten-Free Version
- Vegan: Replace eggs with flax eggs (1 tbsp flaxseed + 2.5 tbsp water per egg) and use dairy-free butter.
- Gluten-free: Swap all-purpose flour for a 1:1 gluten-free flour blend for the same texture.
For more delicious dessert ideas, check out this ultimate red velvet brownie guide.
Storing and Serving Your Red Velvet Brownies
Once you’ve made a delicious batch of red velvet brownies, you’ll want to store them properly so they stay fresh and flavorful. Whether you’re saving them for later or serving them for a special occasion, these tips will help!
How to Store Brownies for Freshness
- At room temperature – If unfrosted, keep them in an airtight container at room temperature for up to 3 days.
- In the fridge – Since the cream cheese frosting contains dairy, store frosted brownies in the refrigerator for up to 5 days.
- In the freezer – Want to save them longer? Wrap individual brownie squares in plastic wrap, place them in a freezer-safe container, and freeze for up to 2 months. Thaw in the fridge before serving.
Can You Freeze Red Velvet Brownies?
Absolutely! If freezing frosted brownies, let them firm up in the fridge first, then wrap them well before freezing. For the best taste, let them come to room temperature before eating.
Best Occasions to Serve These Treats
- Valentine’s Day – Their rich red color makes them a romantic dessert.
- Holidays & birthdays – A crowd-pleaser for any gathering.
- Everyday cravings – Because you don’t need an excuse to enjoy a red velvet brownies recipe!
Frequently Asked Questions About Red Velvet Brownies
What happens when you put baking soda in brownies?
Baking soda is a leavening agent that helps baked goods rise by creating air bubbles. However, in brownies, it can make them more cake-like instead of fudgy. Since brownies are meant to be dense and chewy, most recipes use baking powder (which provides minimal rise) or omit leavening altogether. If you prefer fudgy brownies, skip the baking soda and rely on eggs and fat for structure.
What are the three types of brownies?
Brownies generally fall into three main categories:
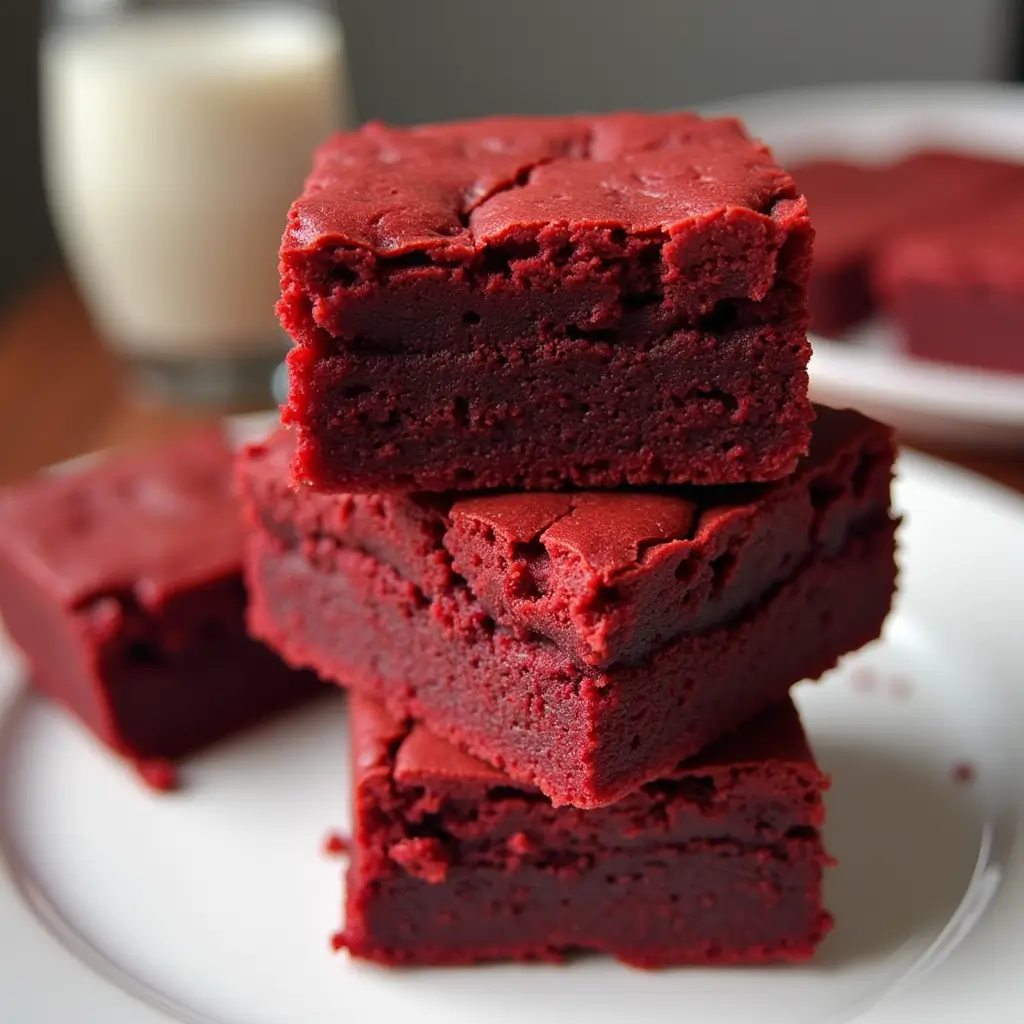
- Fudgy Brownies – Dense, rich, and ultra-moist, with a soft, gooey center.
- Cakey Brownies – Lighter and fluffier, with an airy crumb, similar to chocolate cake.
- Chewy Brownies – A balance between fudgy and cakey, with a slightly firm texture and a deep chocolate flavor.
Do you need cocoa powder for red velvet cake?
Yes, cocoa powder is a key ingredient in red velvet cake, but only a small amount is used. Unlike traditional chocolate cakes, red velvet has a mild cocoa flavor combined with tangy buttermilk and vinegar, which gives it a unique taste. The cocoa powder also helps react with the vinegar and baking soda, contributing to the reddish hue of the cake.
How do you keep brownies soft and moist?
To keep brownies soft and moist, follow these tips:
Wrap them individually – If storing for longer, wrap each brownie in plastic wrap before placing them in an airtight container or freezer bag.melted chocolate instead!
Store them properly – Keep brownies in an airtight container at room temperature for up to 3 days.
Avoid overbaking – Remove them from the oven when a toothpick comes out with a few moist crumbs.
Use a mix of butter and oil – This ensures a rich texture while keeping them from drying out.
More Delicious Dessert Recipes & Final Thoughts
More Red Velvet Dessert Ideas
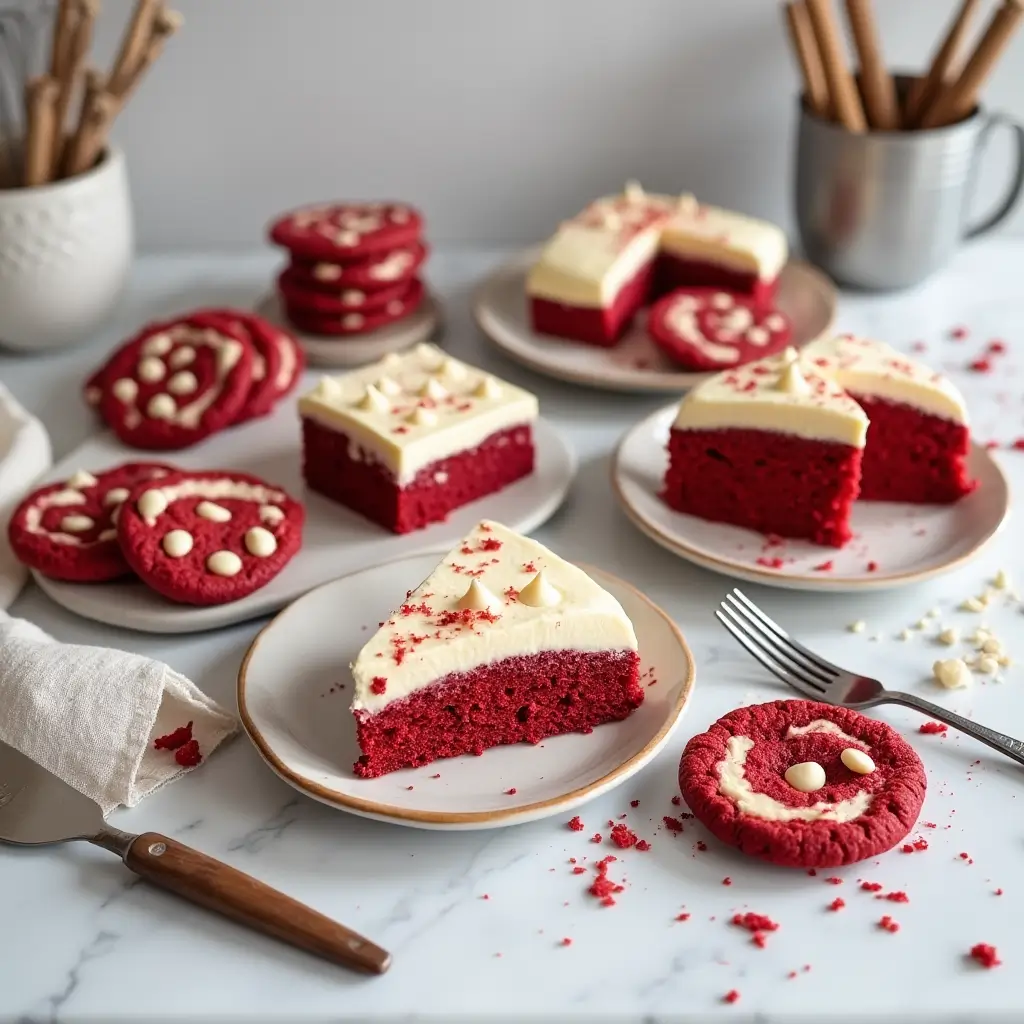
If you loved this red velvet brownies recipe, why stop here? There are plenty of other mouthwatering red velvet treats to try:
- Red Velvet Cheesecake Brownies – A decadent mix of brownies and cheesecake.
- Red Velvet Cookies – Soft, chewy, and packed with that classic red velvet flavor.
- Red Velvet Cake – The ultimate show-stopping dessert for special occasions.
For more irresistible dessert ideas, check out this best red velvet cheesecake brownies recipe.
Why You Should Try This Recipe Today
This red velvet brownies recipe is a must-try for dessert lovers! It’s easy to make, richly flavored, and perfect for any occasion. Whether you’re baking for a special event or just treating yourself, these brownies deliver every time. So, grab your ingredients and start baking—you won’t regret it!