The Ultimate Guide to Red Velvet Brownies
Nothing beats the irresistible combination of a rich, fudgy brownie and the velvety softness of red velvet cake. Red velvet brownies bring the best of both worlds—moist, chewy, and beautifully tinted with their signature deep red color. But what makes them truly special?
In this guide, we’ll walk you through everything you need to know about baking the perfect red velvet brownies. From essential ingredients to step-by-step instructions, frosting options, and expert tips, this article will help you create a batch of brownies that looks stunning and tastes divine. Whether you’re a beginner or a seasoned baker, these insights will elevate your baking game.
Let’s start with the basics—what exactly are red velvet brownies, and why are they so popular?
Table of contents
- The Ultimate Guide to Red Velvet Brownies
- Introduction to Red Velvet Brownies
- Key Ingredients for Perfect Red Velvet Brownies
- Step-by-Step Recipe for Homemade Red Velvet Brownies
- Variations of Red Velvet Brownies
- Frosting and Toppings
- Tips and Tricks for Baking Perfect Red Velvet Brownies
- Frequently Asked Questions (FAQ)
- The Best Occasions to Serve Red Velvet Brownies
Introduction to Red Velvet Brownies
What Are Red Velvet Brownies?
At first glance, red velvet brownies might seem like just another brownie recipe with a splash of food coloring. But they’re so much more than that! Unlike traditional brownies, which are intensely chocolatey, red velvet brownies have a mild cocoa flavor balanced with a slight tanginess—a signature trait of classic red velvet cake.
The texture? That’s where the magic happens. These brownies are:
Chewy and dense like a classic brownie
Moist and tender like a red velvet cake
Rich yet slightly tangy, thanks to vinegar and buttermilk
Whether you enjoy them plain or topped with a luscious cream cheese frosting, they’re a show-stopping dessert that’s perfect for any occasion.
The Origin of Red Velvet in Baking
The red velvet craze has been around for decades, but where did it all begin? Historians believe red velvet cake dates back to the early 1900s, with recipes emerging during the Great Depression. Bakers used cocoa powder and vinegar to create a soft, velvety crumb, and when natural cocoa reacted with the acid, it gave off a reddish hue.
Over time, bakers began enhancing the color with red food dye, and the iconic red velvet cake was born. The same principles apply to red velvet brownies—except they offer a denser, chewier texture with the same irresistible flavor.
Why Red Velvet Brownies Are So Popular
So, what makes red velvet brownies a favorite among dessert lovers?
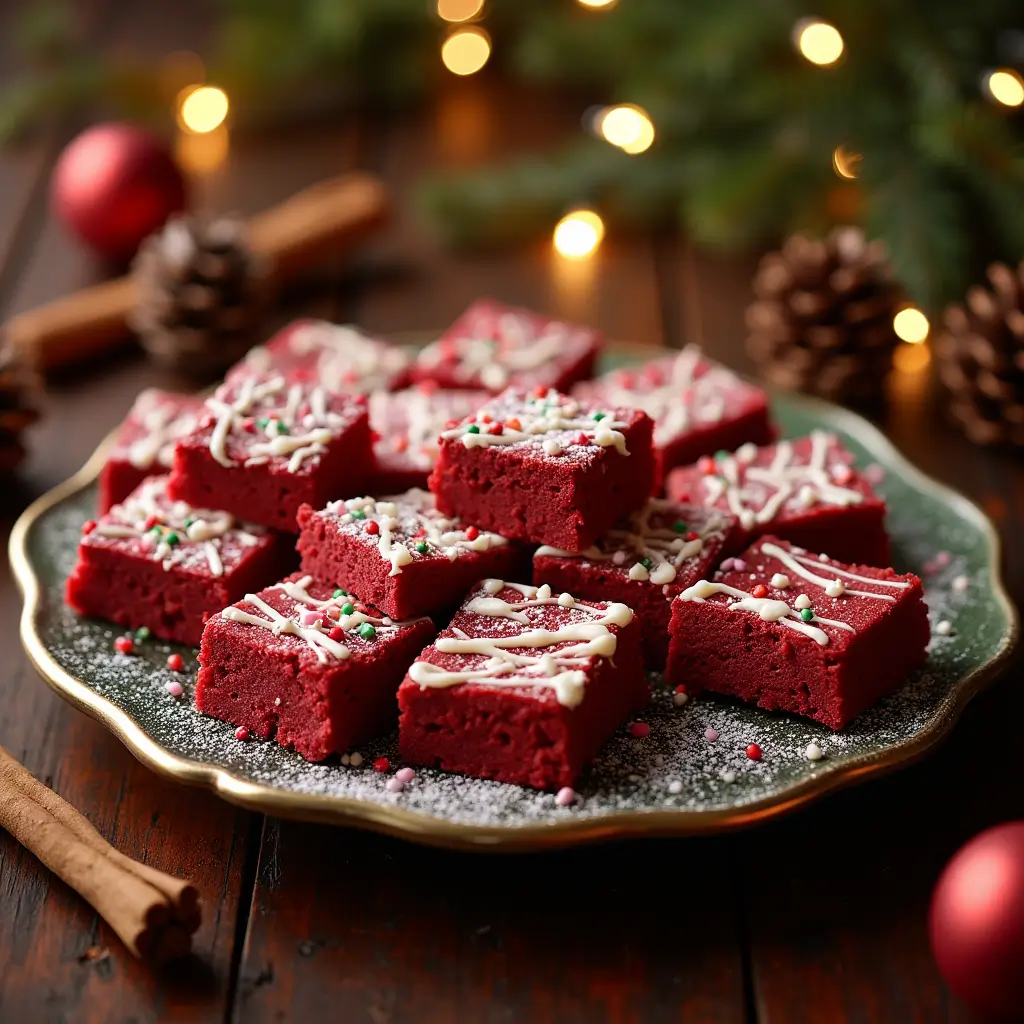
- They’re visually stunning. That deep red color instantly grabs attention, making them a hit at holidays, Valentine’s Day, or festive gatherings.
- The flavor is unique. With a subtle cocoa base and a touch of tanginess, these brownies stand out from regular chocolate brownies.
- Perfect balance of textures. They’re not too cakey, not too fudgy—just the right amount of chewiness.
- They pair beautifully with cream cheese frosting. Let’s be honest, who can resist cream cheese frosting? The slightly tangy, creamy topping perfectly complements the richness of the brownie.
Key Ingredients for Perfect Red Velvet Brownies
Baking the perfect red velvet brownies starts with understanding the ingredients. Each component plays a crucial role in achieving that rich, chewy texture and signature red color. Let’s break down what you need and why.
Essential Ingredients for the Base
To create the best red velvet brownies, you’ll need the right mix of ingredients. Here’s what you’ll need:
- Butter – Melted butter adds richness and moisture, giving your brownies that soft yet chewy bite.
- Granulated sugar – Sweetens the batter and helps achieve the perfect crackly top.
- Eggs – Eggs provide structure and help create that slightly fudgy texture.
- All-purpose flour – Gives the brownies their structure without making them too cakey.
- Unsweetened cocoa powder – A touch of cocoa adds that classic mild chocolate flavor without overpowering the red velvet taste.
- Vanilla extract – Enhances the overall flavor and brings out the richness of the cocoa.
- Salt – A pinch of salt balances the sweetness and deepens the flavors.
The Role of Cocoa Powder and Vinegar in Red Velvet Flavor
Unlike regular chocolate brownies, red velvet brownies have a more delicate chocolate taste. The secret? A small amount of cocoa powder and a splash of vinegar.
- Cocoa powder – Traditional red velvet recipes use only a little cocoa powder, just enough to add a hint of chocolate while keeping the batter light.
- Vinegar – Though it might sound odd, vinegar is key! It interacts with the baking soda (if used) and cocoa powder, helping to create a moist, tender crumb.
This combination gives red velvet brownies their signature taste—subtly chocolatey with a slight tang.
How to Achieve the Perfect Red Color
That bold red hue is what makes these brownies stand out. To get the perfect shade, you’ll need:
- Red food coloring – A few drops of liquid or gel food coloring will do the trick. Gel food coloring works best because it’s more concentrated and won’t thin out your batter.
- Natural alternatives – If you prefer a natural option, try beet powder or pomegranate juice. These provide a subtle red tint while keeping things chemical-free.
With the right balance of ingredients, you’ll get rich, chewy red velvet brownies with that beautiful deep red color and perfectly balanced flavor.
Now that we’ve covered the key ingredients, let’s move on to the most exciting part—making these brownies from scratch!
Step-by-Step Recipe for Homemade Red Velvet Brownies
Ready to bake some delicious red velvet brownies? Follow this simple step-by-step guide to get moist, chewy, and perfectly flavored brownies every time.
Preparing Your Baking Tools and Ingredients
Before you start, gather your supplies to make baking easier:
✅ Preheat your oven to 350°F (175°C). A properly heated oven ensures even baking.
✅ Line a baking pan (8×8-inch or 9×9-inch) with parchment paper. This prevents sticking and makes cleanup easier.
✅ Measure your ingredients beforehand. This saves time and ensures accuracy.
Mixing the Wet and Dry Ingredients
- Melt the butter in a heatproof bowl and mix in the sugar until smooth. This helps create that perfectly chewy texture.
- Whisk in the eggs, one at a time, making sure they are fully incorporated. This step gives the brownies structure.
- Add vanilla extract and red food coloring, mixing well until you achieve a rich red color.
- In a separate bowl, whisk the dry ingredients (flour, cocoa powder, and salt). Gradually add this to the wet ingredients and stir until combined.
- Stir in the vinegar at the end. This enhances the red velvet flavor and helps keep the brownies soft.
Baking and Cooling the Brownies for the Best Texture
- Pour the batter into the prepared baking pan, spreading it evenly.
- Bake for 25-30 minutes, or until a toothpick inserted in the center comes out with only a few moist crumbs.
- Let the brownies cool completely before slicing. This step is crucial! Cutting too early can cause them to fall apart.

And that’s it! You now have rich, chewy, and decadent red velvet brownies ready to enjoy.
Variations of Red Velvet Brownies
One of the best things about red velvet brownies is their versatility. Whether you love them plain, packed with mix-ins, or topped with a decadent swirl, there are countless ways to customize this classic treat. Let’s explore some of the best variations!
Red Velvet Cheesecake Brownies
Want to take your brownies to the next level? Swirling rich, tangy cream cheese into the batter creates a marbled masterpiece that’s as beautiful as it is delicious. Here’s how to do it:
- Prepare the brownie batter as usual.
- Mix a simple cheesecake filling using softened cream cheese, sugar, egg, and vanilla.
- Dollop the cheesecake mixture onto the brownie batter and swirl with a knife to create a marbled effect.
- Bake as usual, but add 5-7 extra minutes to account for the added moisture.
The result? A creamy, slightly tangy contrast to the fudgy red velvet base—pure dessert heaven!
Gluten-Free and Vegan Options
If you have dietary restrictions, don’t worry—you can still enjoy delicious red velvet brownies with a few swaps.
- Gluten-Free Version – Simply substitute all-purpose flour with a 1:1 gluten-free baking blend. Almond flour can also work, but it may make the brownies a bit denser.
- Vegan Version – Replace butter with coconut oil or vegan butter, use a flax egg instead of regular eggs, and choose dairy-free milk and vegan food coloring.
Both options will still yield chewy, rich brownies with that classic red velvet flavor.
Adding Nuts, White Chocolate, or Swirls for Extra Flavor
For extra crunch and richness, consider adding mix-ins to your batter:
- Chopped pecans or walnuts for a nutty crunch
- White chocolate chips to complement the cocoa and vanilla notes
- Caramel or peanut butter swirls for a gooey, indulgent touch
Whatever you choose, these additions will enhance the texture and flavor of your brownies, making them even more irresistible!
Try a two-layer brownie featuring a vanilla base like in the Vanilla Brownies Recipe.
Now that we’ve covered some fun variations, let’s move on to the best frostings and toppings for red velvet brownies.
Frosting and Toppings
While red velvet brownies are already delicious on their own, adding the right frosting or topping can take them to a whole new level. Whether you prefer a creamy, tangy contrast or a simple dusting of sugar, here are some of the best options.
Classic Cream Cheese Frosting Recipe
Nothing pairs better with red velvet than smooth, tangy cream cheese frosting. It’s the perfect balance of sweet and slightly tart, enhancing the rich flavor of the brownies.
To make cream cheese frosting, you’ll need:
- 4 oz (115g) cream cheese, softened
- 2 tbsp unsalted butter, softened
- 1 cup powdered sugar
- ½ tsp vanilla extract
Instructions:
- Beat the cream cheese and butter together until smooth.
- Add powdered sugar gradually and mix until creamy.
- Stir in vanilla extract for extra depth of flavor.
- Spread over cooled brownies and refrigerate for at least 30 minutes before slicing.
This frosting adds a luscious, melt-in-your-mouth texture that perfectly complements the dense, fudgy brownies.
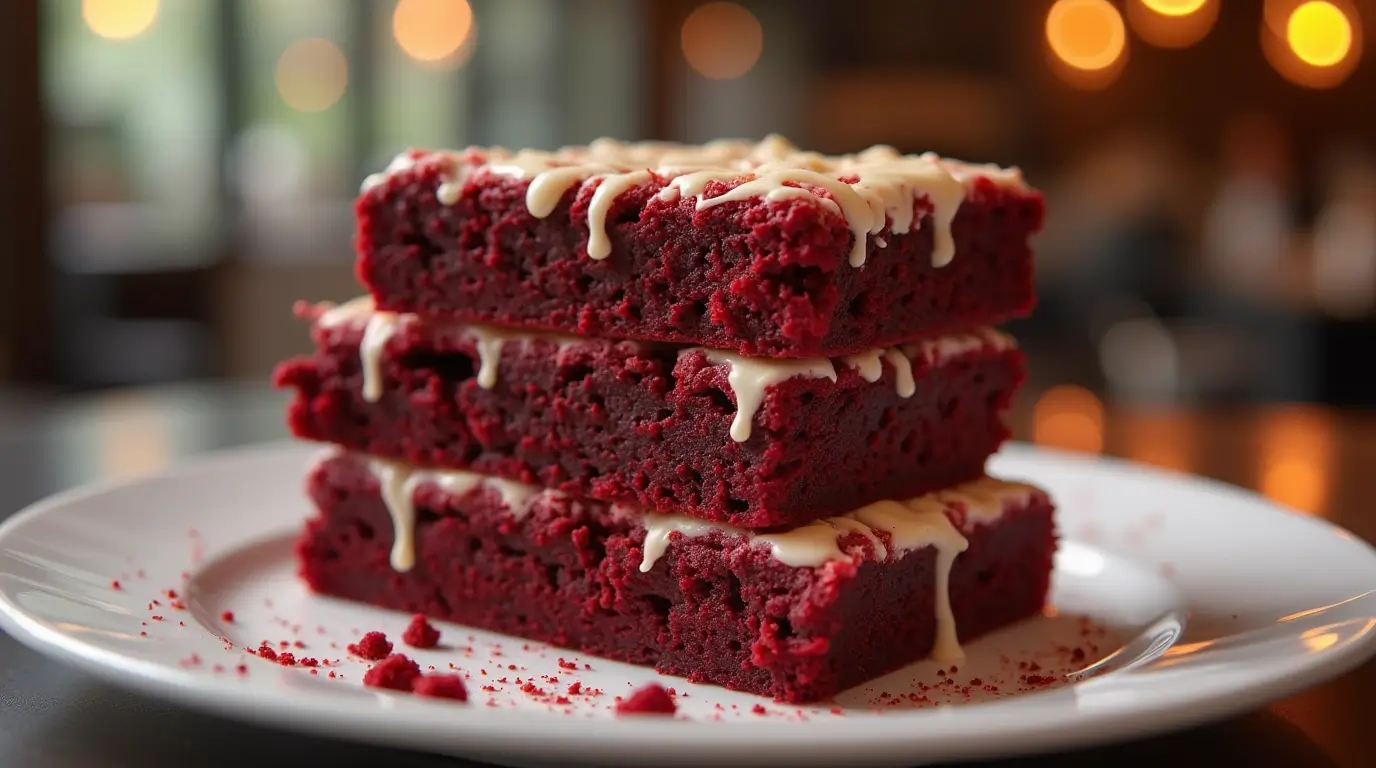
Drizzling with White Chocolate or Caramel
If you prefer a lighter topping, try drizzling white chocolate over your brownies. The sweetness of white chocolate enhances the cocoa notes, making each bite irresistible.
Alternatively, a caramel drizzle adds a buttery richness that pairs beautifully with the slight tang of red velvet brownies.
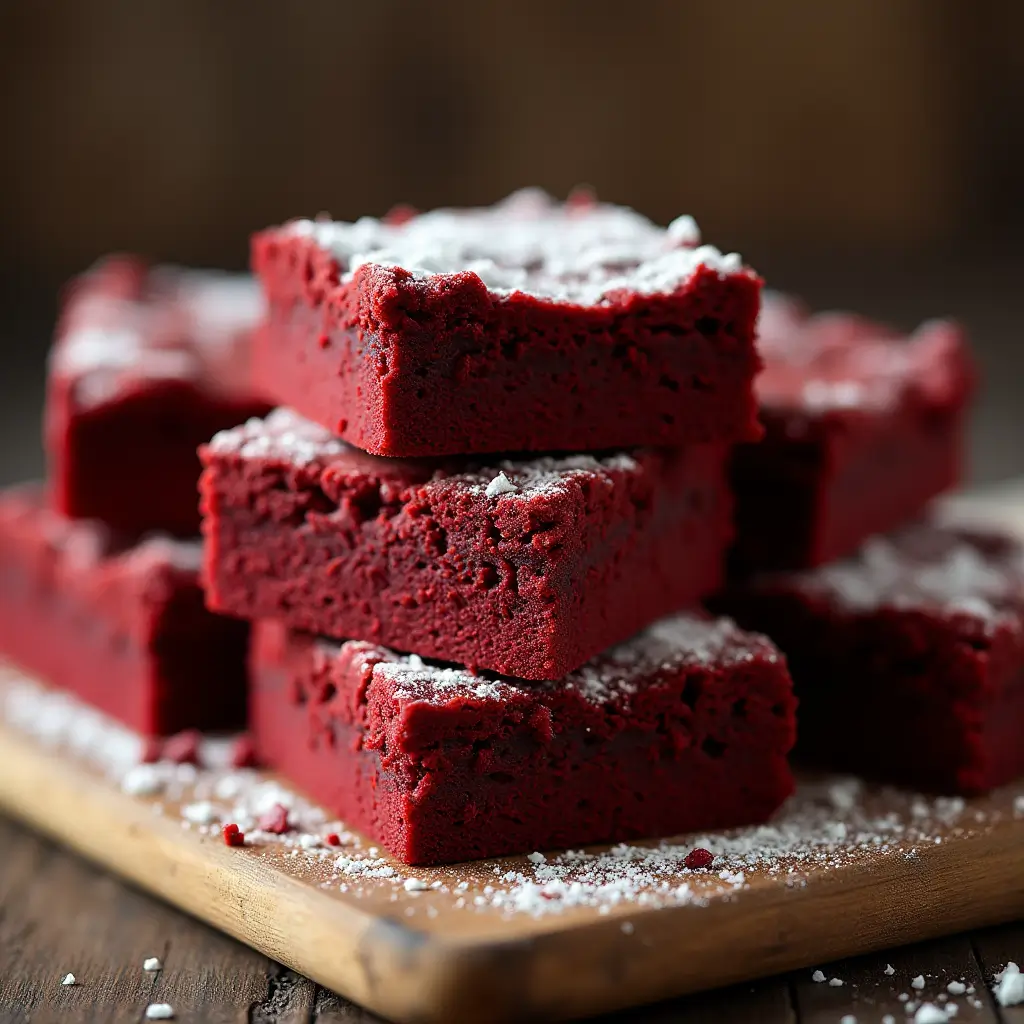
Dusting with Cocoa Powder or Powdered Sugar for Presentation
For a simpler but equally elegant finish, dust your brownies with:
- Cocoa powder for a subtle chocolate bitterness
- Powdered sugar for a light, snowy effect
This approach works well if you want a less sweet, more balanced dessert while keeping the beautiful red velvet color visible.
Red velvet brownies pair beautifully with a scoop of vanilla ice cream or a drizzle of cream cheese frosting. If you’re a fan of Creme Brulee Cheesecake, consider serving a slice alongside your brownies for a truly indulgent experience.
Tips and Tricks for Baking Perfect Red Velvet Brownies
Even the best recipes can go wrong without the right techniques. To ensure your red velvet brownies turn out chewy, moist, and full of flavor, here are some expert tips to follow.
How to Keep Them Moist and Fudgy
Nobody wants dry brownies! Here’s how to make sure they stay moist and decadent:
- Use melted butter instead of oil. Butter adds richness and enhances flavor, while oil can sometimes make brownies greasy.
- Don’t overmix the batter. Stir until just combined—overmixing can lead to tough brownies.
- Measure flour correctly. Spoon it into the measuring cup and level it off; too much flour makes brownies dense and dry.
- Watch your baking time. Bake just until a toothpick comes out with a few moist crumbs. Overbaking will dry them out!
- Let them cool completely. Warm brownies might seem tempting, but cooling allows them to set and become extra fudgy.
Common Mistakes to Avoid
Even experienced bakers can make small mistakes. Here are a few to watch out for:
❌ Skipping the vinegar. It helps create the signature red velvet flavor and keeps the brownies tender.
❌ Using too much food coloring. A little goes a long way—too much can give an artificial taste.
❌ Cutting too soon. If you slice your brownies while they’re warm, they might crumble. Let them cool completely for clean cuts.
❌ Forgetting to line the pan. Parchment paper makes removal easy and keeps brownies from sticking.
Storage Tips for Freshness
To keep your red velvet brownies fresh and delicious:
- At room temperature: Store in an airtight container for up to 3 days.
- In the fridge: If frosted, refrigerate for up to 5 days for the best texture.
- Freezing: Wrap individual slices in plastic wrap, then store in a freezer bag for up to 2 months. Thaw at room temperature before enjoying.
Follow these tips, and your red velvet brownies will be absolutely perfect every time! Now, let’s move on to the most common questions people have about this delicious treat.
Frequently Asked Questions (FAQ)
Why Are My Red Velvet Brownies Not Red Enough?
If your brownies turn out brown instead of red, you may need to:
- Use gel food coloring instead of liquid—it’s more concentrated.
- Reduce cocoa powder slightly—too much can overpower the red color.
- Make sure your vinegar is fresh, as it helps enhance the red hue.
Can I Use a Brownie Mix to Make Red Velvet Brownies?
Yes! To turn a regular brownie mix into red velvet brownies, simply:
- Use buttermilk instead of water for a hint of tanginess.
- Add red food coloring to achieve the classic look.
- Stir in a teaspoon of vinegar for an authentic red velvet taste.
How Do I Store Red Velvet Brownies?
For best results, store at room temperature for up to 3 days or refrigerate if topped with frosting. You can also freeze them for longer storage.
Are Red Velvet Brownies Supposed to Taste Like Chocolate?
Not exactly! it has a mild cocoa flavor but are slightly tangy due to the vinegar and buttermilk. They’re richer than cake but not as intense as traditional chocolate brownies.
And that wraps up this ultimate guide to red velvet brownies! Whether you’re baking them for a special occasion or just a sweet craving, these tips and recipes will help you create perfectly chewy, delicious brownies every time.
The Best Occasions to Serve Red Velvet Brownies
There’s never a bad time for red velvet brownies! Their rich color, soft texture, and indulgent taste make them perfect for a variety of special occasions. Whether you’re hosting a party, celebrating a holiday, or just craving something sweet, these brownies always steal the show.
Perfect for Holidays and Celebrations
Some desserts feel extra special during certain times of the year, and red velvet brownies are no exception. Their bold red color and luxurious taste make them a great choice for:
- Valentine’s Day – The deep red color and rich chocolate flavor make these brownies the perfect romantic treat.
- Christmas – Pair them with green sprinkles or a dusting of powdered sugar for a festive holiday dessert.
- Birthdays – Instead of a traditional cake, serve these brownies with a scoop of ice cream and candles.
- Fourth of July – Add a drizzle of white chocolate and a handful of blueberries for a patriotic twist.
No matter the occasion, these brownies bring a pop of color and flavor that guests will love.
Red Velvet Brownies for Everyday Indulgence
You don’t need a holiday to enjoy this dessert ! Here are some everyday moments where these treats make life a little sweeter:
- Afternoon Snack – Pair a brownie with a cup of coffee or tea for an afternoon pick-me-up.
- Dessert for Two – Warm up a brownie and top it with vanilla ice cream for an easy, elegant dessert.
- Bake Sales and Potlucks – These brownies stand out on any dessert table and disappear quickly.
- Gifting Idea – Wrap them up in a cute box and give them as a homemade gift for friends or family.
Whenever you need a decadent, chewy, and flavorful dessert, these brownies are the answer!